Since this tutorial was scheduled for Valentine's Day, I pulled out every single red and black paper from my years of collecting Tim Holtz paper stashes. For my binding and cover concept I turned to THE mini album queen, Elena Morgun. I saved THIS pin a long time ago and have been anxious to try the soft, curved spine. My finished album measures approximately 5 3/4 x 4".

First I cut 6 pages to 5 1/2 x 7 3/4 and scored at 3 3/4 and 4". I used cloth washi tape to strengthen each spine section. Next, I glued the backs of the pages together to form my book.

I folded muslin and glued the edges down so that it was exactly 5 1/2" high and a bit wider than the gathered pages.

Next, I added tons of wet glue (Beacon 3 in 1 or Mixed Media is my favorite, but any sturdy wet glue) to attach my fabric strip to the spine sections.

I cut my cover boards to 5 3/4 x 3 7/8" and my spine to 5 3/4 x 3". I scored the spine at every score mark on my scoreboard for flexibility. Then I glued one half inch of each side of the spine to the cover boards, using my ruled mat as a guide. I chose a heavy brown card for the spine (to match the covers) because my fabric was gauzy and I wanted a brown base with no white showing through.

Next I tightly wrapped a piece of cross stitch linen nice and taught and glued the inside edges to my covers from top to bottom, then snipped my corners and glued the left and right. This way no glue will show on the outside of your book and what shows inside will be hidden when you assemble the pages.

I glued the fabric flaps to the back of my pages and then glued the front, then the back of the pages (NOT TO THE SPINE) to the inside of my covers, allowing a slight 1/8" border. Look at that lovely curved spine! :)


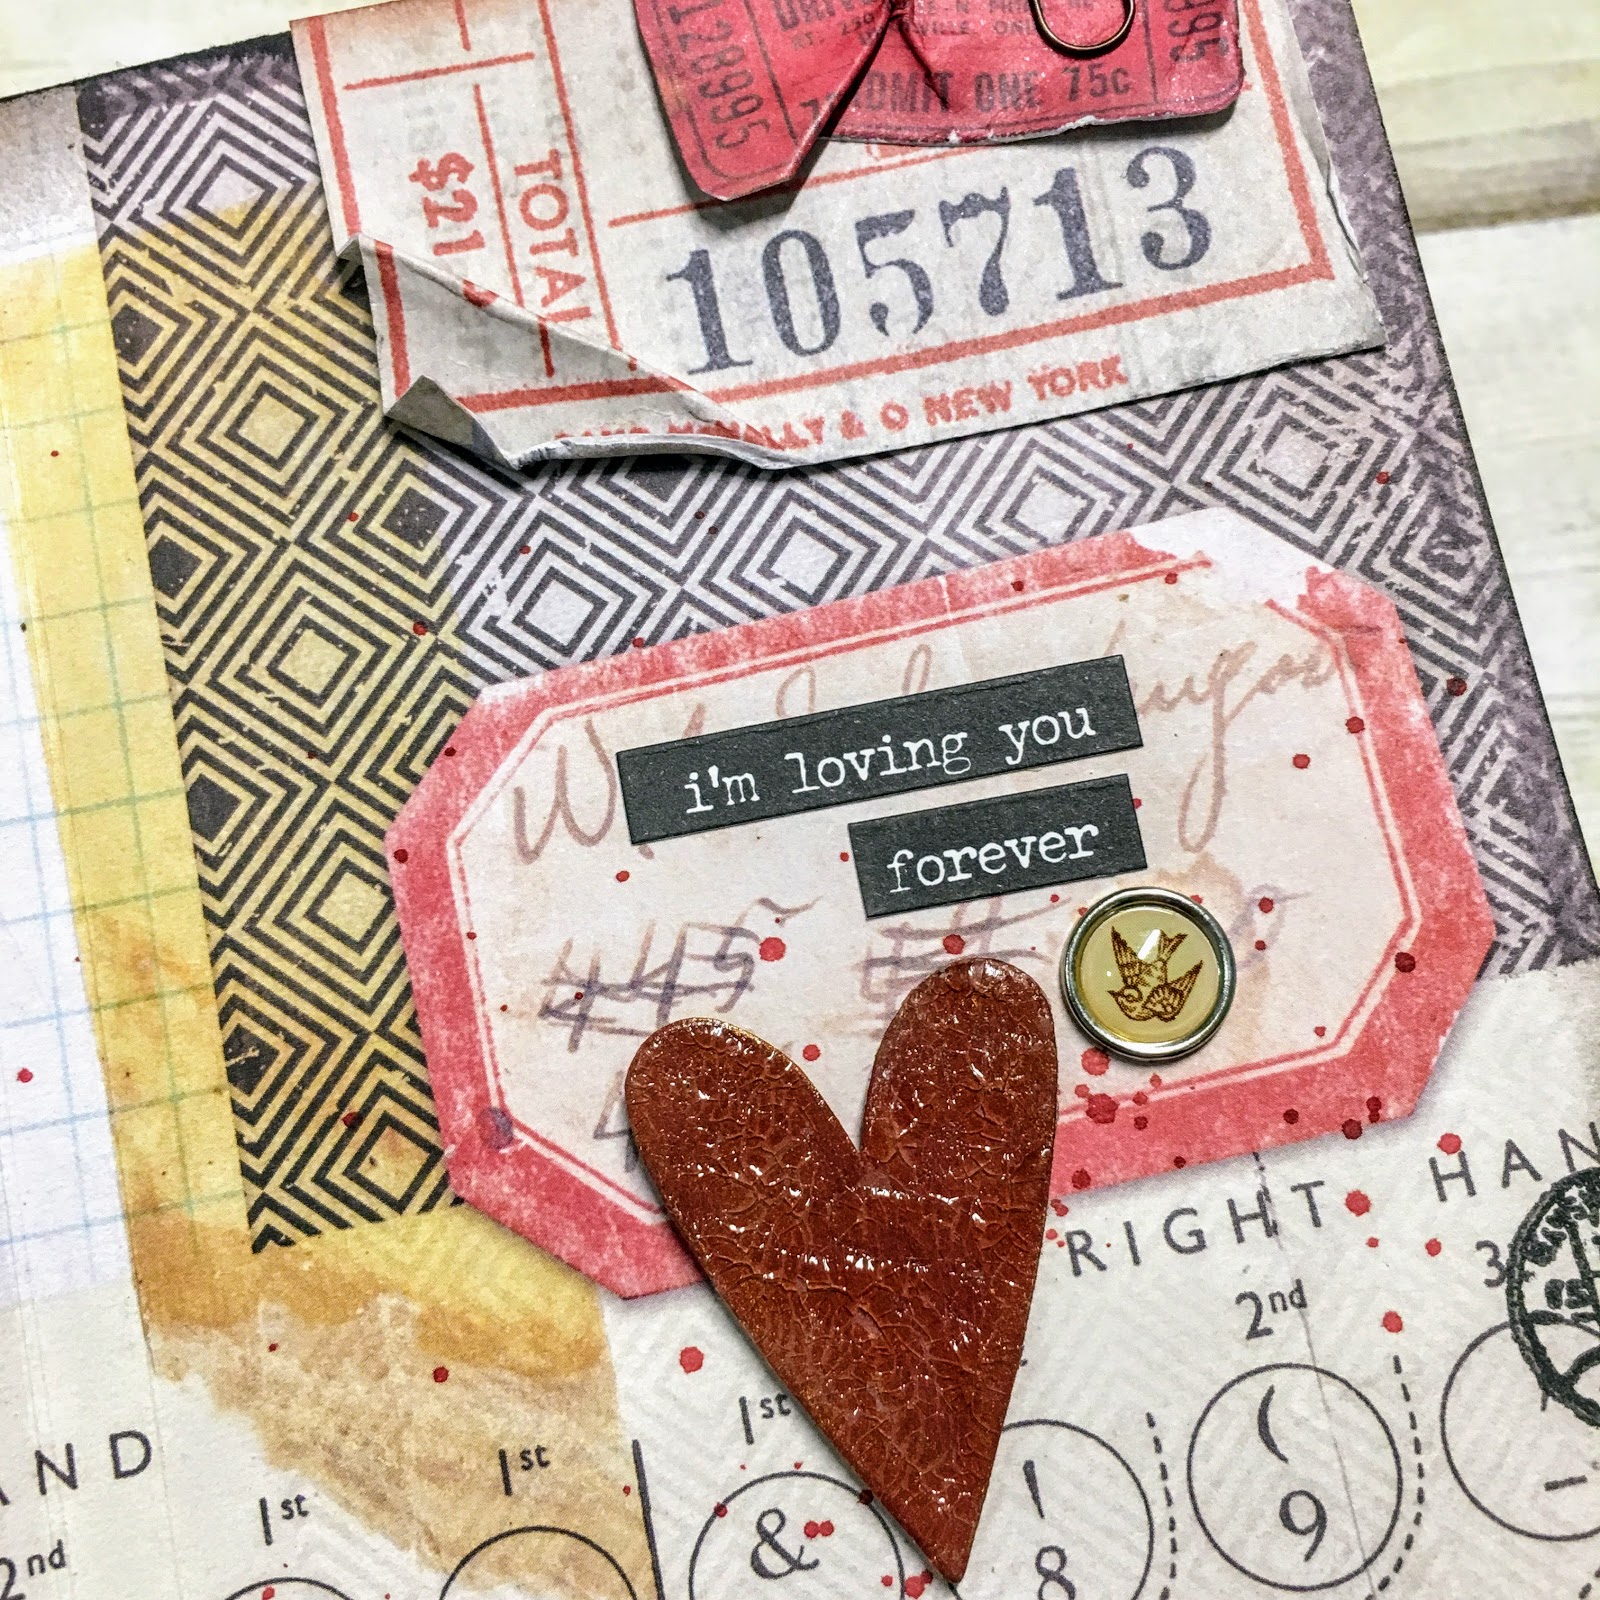
And now a flip through the book pages. I've used tons of Tim Holtz die cuts by Sizzix and Ideaology findings, paper dolls, stamps and embossing. If you have any questions on the specifics, please leave a comment.


I hope you've enjoyed this tutorial! Please pin the graphic for future reference and leave a comment with a link if you create your own version. <3
Now, onto our giveaway winner...
I'm pleased to say we now have 88 followers on our Instagram page, and 141 followers on our Facebook page! In addition, we have 314 followers on blogger and 115 email subscribers! Remember to tag us when you share your albums on Instagram and post your projects to our Facebook page after you've linked up. :) And the winner is...

That's Jackie P Neal who followed us on Instagram! Woo hoo! Congrats Jackie! Please email Autumn at teamclark@rocketmail.com to claim your prize. From the bottom of our hearts, we thank you for supporting this blog. Happy Valentine's Day lovelies!