Hello, Anne here, it is my turn to share a tutorial this month here at Mini Album Makers. I have been a long time fan and follower of Anne from Anne's Papercreations, she makes the most stunning albums. I have had this one bookmarked for a couple of years now and thought it was about time that I tried to create one. Anne shares all the details on her blog HERE and you will also find details of a video tutorial too.

The finished size of this flip and pocket mini album is 6 inches x 4 inches (approx 15 cm x 10 cm).

To
make the cover I took two 6 inch by 4 inch pieces of heavy card and the
spine is 6 inches by 1.3/4 inches. I attached these with strong
binding tape, leaving a gap between the spine and the back and front so
that the album would fold easily.
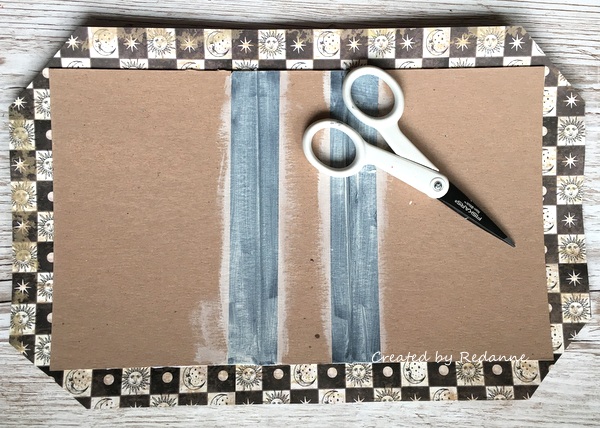
I attached the design paper to the front, using Matte Medium, mitered the corners and glued all the edges in place.

Above is the finished front. I used papers by Stamperia throughout the album.

I finished off the inside of the cover with another piece of design paper.

Next
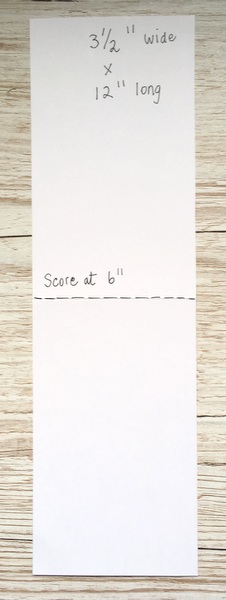
I created the flip and pocket element. Anne shows this very clearly in
her video. Each piece makes one complete flip and pocket and her
design also incorporates the hinge. I found this so much easier than
making a separate hinge. I am showing these elements in white paper so
that it is clearer to see.
NOTE:
Anne's measurements are slightly larger than mine, I did not need to
make thicker pocket elements for my album and so my measurements worked
well for me. If you would prefer to have thicker pockets then please
follow Anne's measurements.

With
the page open, cut across from the 6 inch mark to the middle only and
also cut the hinge across from the edge to the first score line at the 6
inch mark.

Fold well on all score lines. Fold from the right edge as shown in the
middle picture above. Now fold in the middle, away from the flaps and
you will end up with one full flip pocket as shown above.

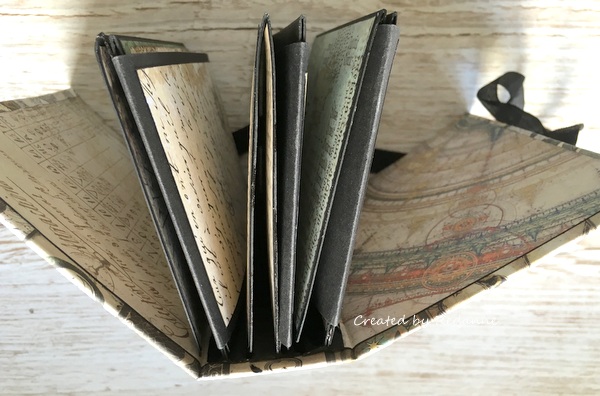
Once
the three flip pockets are created, join them together as shown above.
This creates the hinge which will be glued into place inside the cover,
using strong double sided tape. I like to decorate the elements before
attaching to the cover but it is your choice at this point.
When
the three pockets are glued into place you will have three open pockets
at the top and three open pockets at the side of the finished album.
Create the photo mats (you will need three) as shown above.

Cover each of the mats with your chosen paper. I covered both sides and created one plain mat on each, for journalling on.

Fold the mats ready to place in your album.

To
decorate the album I used Stamperia papers and covered all of the flip
elements, front and back but excluding the centre openings at the top
and side as these will not be visible once the album is closed.

A view from the inside before the mats are tucked inside.
A view from the top showing the mats tucked into the top pockets.

A view from the inside showing the mats slipped into the pockets.

I
added some black seam binding as a closure, held in place with a piece
of design paper, front and back. The above picture is the back of the
album.
