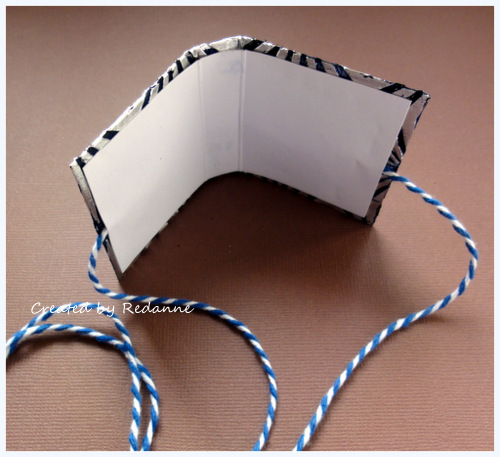
Hello, Anne here to share a little tutorial. Each year a dear friend and I meet up to share a project we have learned. This year Margie shared with me how to make a mini album handbag/purse charm and I have been slightly addicted ever since. They would make great gifts for Christmas...
They can be made from small amounts of scrap paper, card, fabric, leather etc., and the finished size works out at 2" square and 1/2" deep (but you can make them in any size you like).
Gather your supplies, I also added paint and a sanding block later on. I am using plain card just so that the measurements show up easier. I will be showing a foil covered version here.
1) Cut one piece of card 4.1/2" x 2" and score at 2" and 2.1/2"2) Cut one piece of card 4.1/4" x 1.7/8" and score at 1.7/8" and 2.3/8"
3) Cut two strips of card 10.1/2" x 1.3/4"
4) Score at 1.3/4", 3/1/2", 5.1/4", 7"and 8.1/4"
5) Accordion fold both pieces (double sided cardstock works really well for this section). You can make the strips longer if you wish at this point, just keep the score spacing the same.
6) Cover the larger piece with foil (I used foil from the DIY store) and fold over neatly.
7) Emboss with an embossing folder of your choice.
8) Paint the cover with a good quality acrylic paint, on both sides of the foil element.
9) Once the paint is dry, use a sanding block gently to remove paint from the raised areas inside and out. If you use a DIY foil like I did, be very gentle.
10) At this point, think about the type of closure you want, if it is ribbon or twine, add this now with some strong double sided tape. You may wish to experiment with other types of closure, whatever suits the type of mini album you wish to create.
11) You are now ready to 'line' the inside of the album. Join at the spine first but not the side pieces.
12) Gently fold the album at the score points. You may need to trim off some of the side pieces as you do not want them to overlap the edge of the album. Once you are happy with the placement, glue into place.
13) Join the two long scored strips together. You need to end up with an even number of the squares, in this case I had to cut one off.
14) Join the accordion strip as shown above.
15) Your album should now fold in as shown - the little pages are not joined at the spine.
16) Use a hole punch to create a hole at the top of the album and add an eyelet - this is where your hanging chain or other embellishment will fix to the album.
17) Your album is now ready to decorate/embellish in any way you wish.
A mini Halloween charm album.
This Christmas charm album includes some of our very own Alison Bomber's fabulous new stamps! I hope you enjoyed my tutorial and if you feel inspired to create one, please do share them in one of our mini album challenges! Thanks so much! Don't forget to join in our October challenge for a chance to win a fabulous Gypsy Soul Laser Cuts prize pack!
Hugs, Anne xx


