

Covers
The die I used cuts one cover with holes in the spine so it takes two passes to get front and back covers. I assembled the two covers with score tape and glue for extra hold. Then came the fun part of collaging the whole thing. There is no right or wrong way to collage. To me it is reminiscent of finger painting as a child. Very therapeutic (and delightfully messy)!

Signatures
For the signatures, gather your papers together and cut to size, slightly smaller than your cover size. You’ll want full sheets that will fold in half to make the signatures. For this journal I coffee dyed vintage onionskin paper (old typing paper) as well as good quality printer paper. There is an excellent tutorial HERE. I used waxed linen cord to bind my signatures. The wax helps keep the string in place without slicing the papers. I used the three-hole pamphlet technique to bind the signatures. Tutorial for that HERE. As you can see, I stitched some old glassine I had in my stash onto the sturdier paper, tucking in a found relative before closing the stich line. If you want to add any stitching to your pages do it before binding the signature (unless you like smacking your forehead later).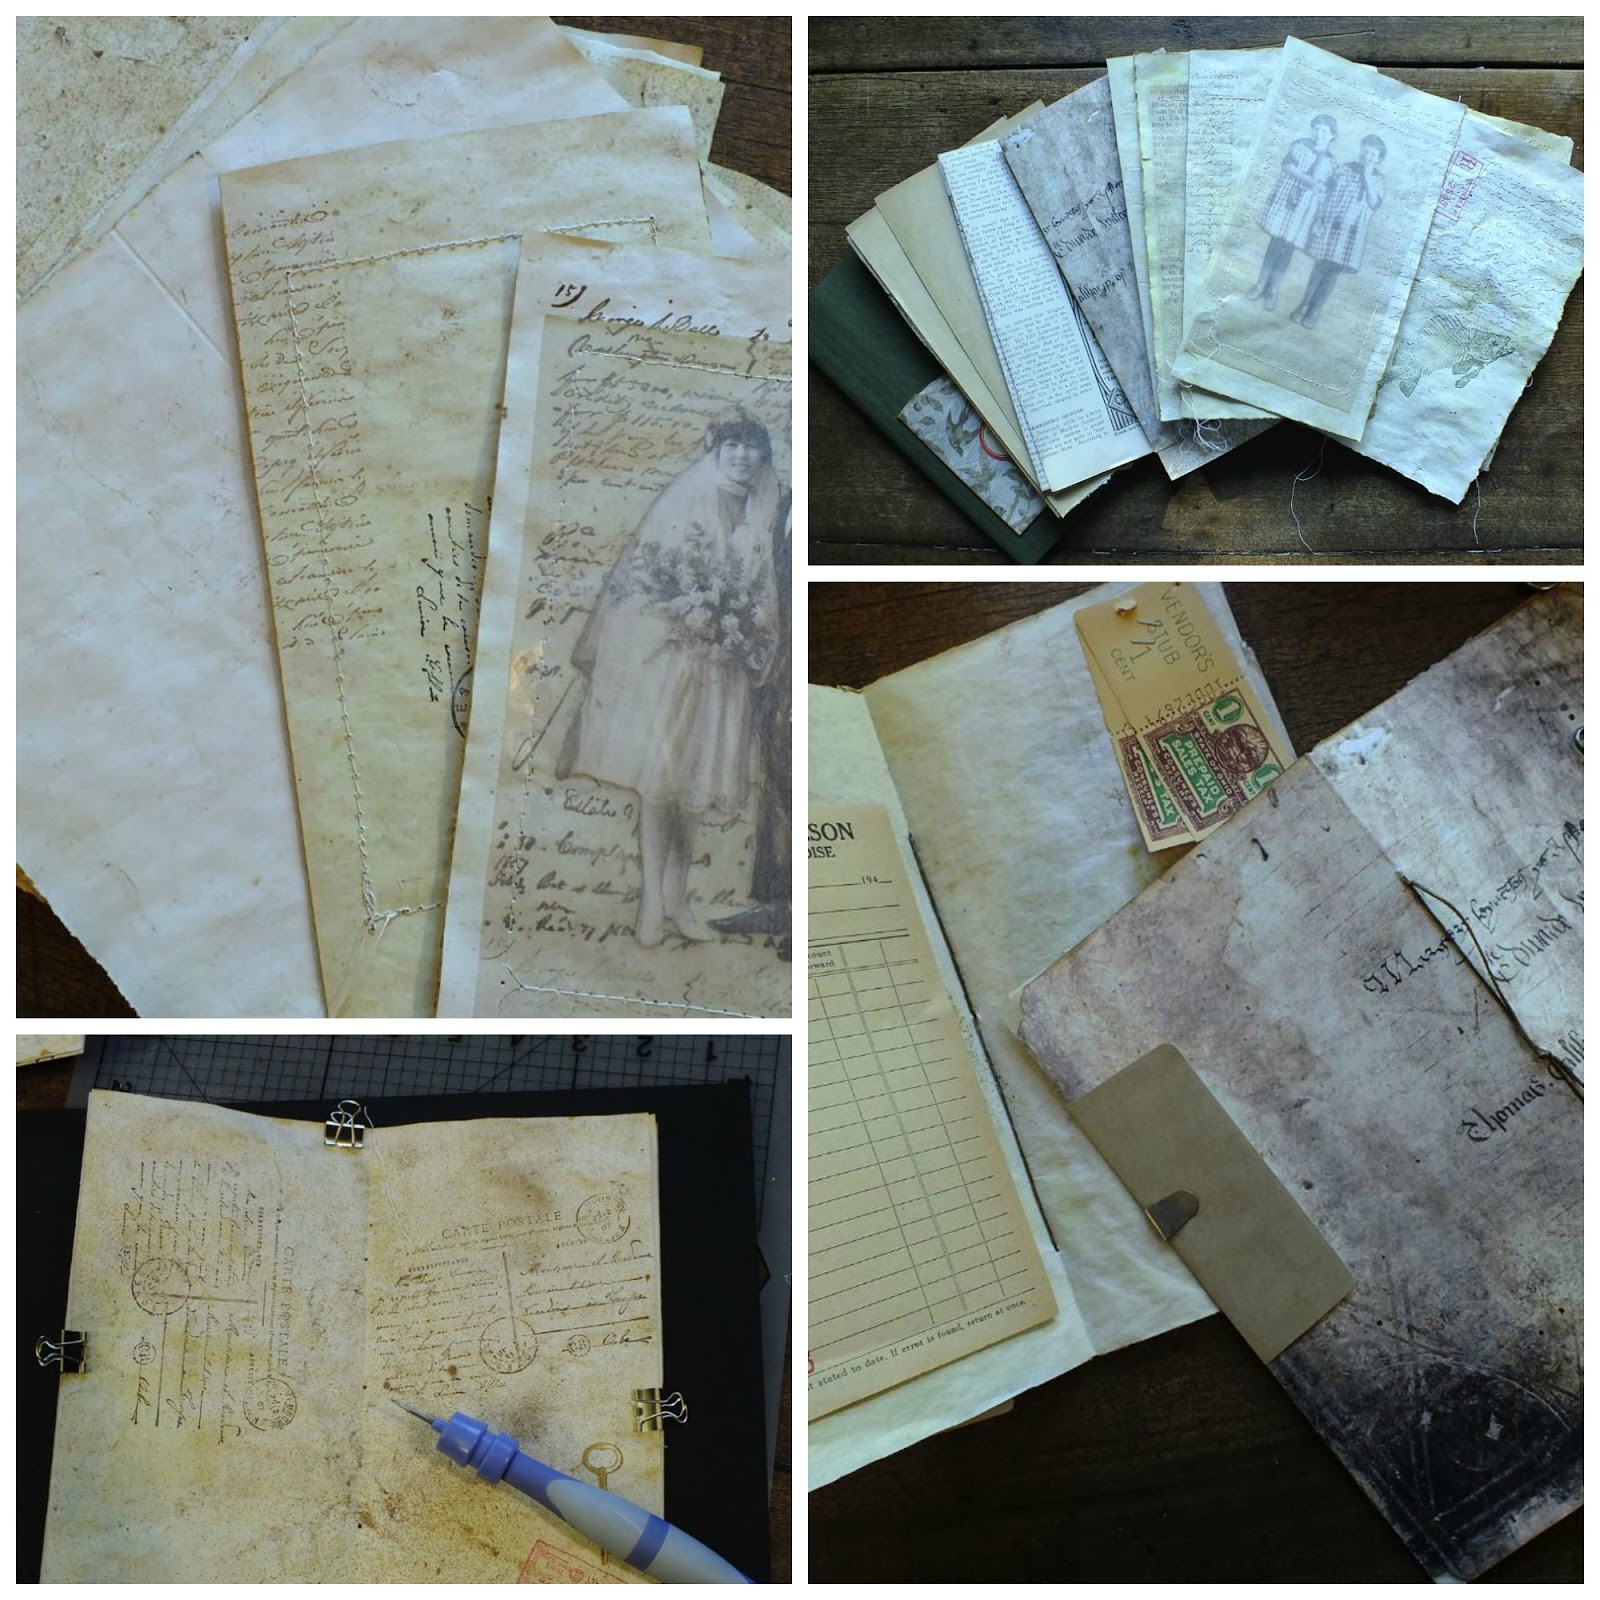
Midori style journals use elastic cord to hold the signatures. The benefit of this is that you can easily add or remove signatures and pocket folders at any time. As mentioned above, the die I used also punches holes in the spine. There are directions to string the journal using those holes on the sheet included with the die or you can view a tutorial HERE. I finished my strings by putting them through the center hole instead of tying them inside as in the tutorial. Mine act as the closure for the book as you can see below. As an alternative you can punch holes with your long reach Cropadile in the same configuration and use the same stringing method. Since I also covered the spine with a separate sheet I re-punched the holes after adhering the cover paper.

I had so much fun creating this journal! I hope you will try one for yourself, whether you use a die to cut your covers or do it by hand, it is a very satisfying project. Once it is all together you can go back and tuck in all those sweet little bits you’ve been saving. Add sparkle or ribbon – make it your own! Thanks for sticking with me through the whole tutorial. ~ Heather


