Hello everybody. Masha from
TekillaNik with you today. I am very pleased to be a guest designer in this beautiful blog. With pleasure I created a mini album for inspiration. Bright and mischievous, but really girly. Believe me, not all girls are ladies and princesses! I know a couple of bandits!
The design of the album is simple. The base is an A4 sheet of watercolor paper. We use a ruler and a scoring tool to score from left to right - 11 cm + 1 cm + 11 cm +1 cm + remainder.
That's what the foundation looks like when it's assembled. Everything is simple, as you can see.
A little clue. To accurately calculate the size of the substrates for photos, we need to take any draft, and in the corner to make hole holes for the photo. A photograph (of any desired size), in my case 10 x 15 cm insert according to the angle.
And now we measure the distance of the substrate. In my case this is 3 mm. That is, on each side it is necessary to leave an additional 3 mm. It turns out that each substrate for photography 10 x 15 cm will be 10.6 x 15.6 cm in size.
Here are a few substrates just ready.
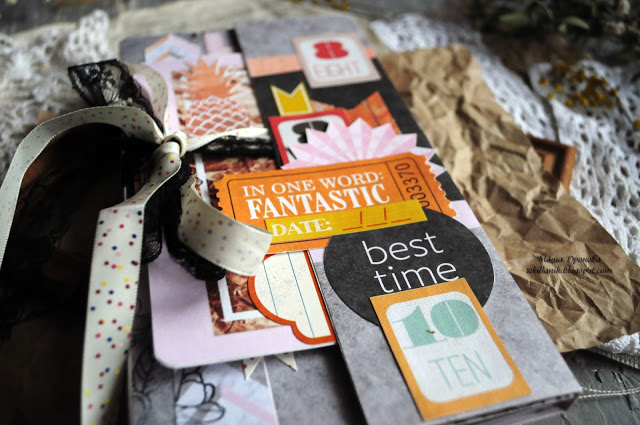
After the base is already decorated with scrap paper, I make a strap that will later hold the photos.
The substrate for the photo 9x13 cm glues to the base, thereby covering the tail of the strap.
Next we will attach the remaining substrates.
That's the kind of kid I finally got. We're watching.