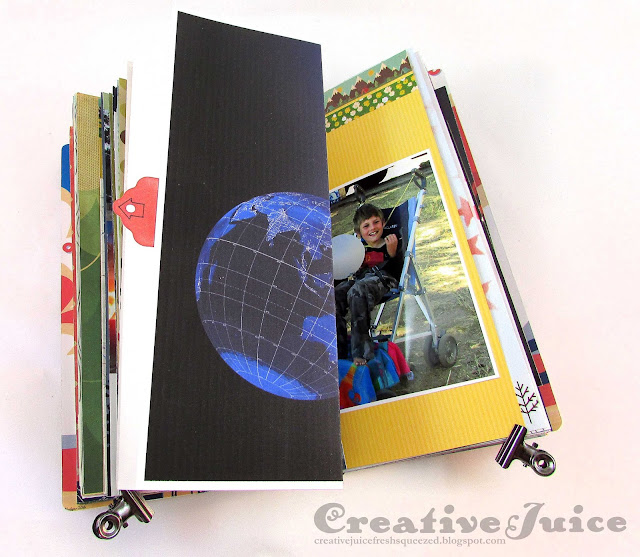
I live in Idaho and last summer I was able to travel a few hours north and be in the path of totality for the Great American Eclipse! It was exactly one year ago today that it happened and it was an amazing experience! I knew I wanted to make a keepsake journal to commemorate the event and I did get the cover all done beforehand. (See it here.) I thought it would be perfect to get all the inside parts done in time for the 1 year anniversary and to share with you. I made lots of pockets, tuck in spots and other fun elements so read on for the tutorial.
Here's a quick flip through of the insides:
The journal is made using Eileen Hull's Sizzix Journal Die. The cover dimensions are 4.5 x 8.75 inches so my special pages are sized accordingly.
1. Double pocket - This is a super easy pocket to add to your journals, especially when using double sided 12x12 scrapbook paper. The flap of paper that is in excess of your page height folds up and becomes your pockets.
 |
| Run a thin line of glue or dry adhesive along the flap edges to seal up your pockets. |
2. Single diagonal pocket – I thought it would be fun to turn this eclipse map into a pocket. Isn't my state conveniently shaped for that? I sized the map in my design software so the state outline would fit just right and then printed it out. You could easily use regular patterned or plain paper instead.
Fold the side and bottom tabs back and adhere to the page. I made sure this page was on the outside of a signature so the outer fold wouldn't get cut off when I trimmed my signatures.
3. Pull out tuck spots – These are fun to make for larger pieces of ephemera, etc. I had some postcards that I wanted to tuck away in them.
I cut a front and a back the dimensions of my signature pages plus an inch extra in height to use as a tab. See below where I glued the tabs to the pieces to form a 'tube'.
I scored and folded it down the middle and then used a circle punch to cut the 'grabber' notches. (My technical term for them.)
4. Double diagonal pockets – I didn't have big enough double sided paper to just have a fold up piece form the pocket (like #1) so I cut a separate part to form the pockets.
Like the #2 pocket, fold the tabs under and adhere to the page.
5. Foldouts – Not a pocket but it's a fun interactive feature to include in a journal. NASA had a ton of eclipse (and hires!) resources people could download so most of my diagrams and maps came from there. The biggest prints I accordion folded and others simply fold out once.
Thank you for stopping by. I hope this has sparked some ideas of things you can add to your next album project. Be sure to join in the current challenge for August. Eileen Hull is the sponsor and you could have a chance to win one of her die sets!


