Hello all! It's Alison here from Words and Pictures for this month's tutorial post and, as promised, I'm sharing a handmade book which is a sort of partner piece to my inspiration project this month,
Meadow Medley. The two books have several things in common - the colour palette, the fabulous StencilGirl meadow grass stencils (StencilGirl are our sponsors this month here at Mini Album Makers) - but the most notable "partnership" comes from the ingredients they were made with.
Today I'm sharing one of the simplest possible ways to make a book. I'm sure others must have done this, though I'm not aware of having seen it anywhere. My brain came up with it as a really easy way to construct a book, so that I could spend more time on the "artsy" stuff! Grab a cup of tea or coffee, and off we go.
I got hold of one of those packs of pre-folded cards and envelopes. You can generally pick them up pretty cheaply. Mine was a pack of 25 cards + envelopes in a 7 x 7 inch size. The
Meadow Medley was made using some of the envelopes, and this Meadow Meditation was made with the cards themselves.
It really couldn't be easier. I simply stuck the unfolded cards back to back to build my book. Well, in fact, they were stuck interior to interior, just in case the quality on the outer sides of the card was better for inking. You can see the cards standing back-to-back here, pre-glueing.
I think with these particular cards they were the same quality inside and outside, but with some card stock it will make a difference. And of course if you were planning to cover your pages with design paper as part of the "artsy" decoration, it wouldn't matter in any case.
But I was going for inking/painting directly onto the cards themselves so it was worth just making sure.
One of the great side effects of this form of construction is that you know that one card will form one page spread. That meant I was able to do my inky stencil printing before glueing the cards, and stay safe in the knowledge that the two pages facing each other would work together.
And for the covers, I simply cut two pieces of 7 x 7 recycled cardboard to glue onto the outside "pages".
So that's the basic idea for the book structure... easy peasy, right? You'll see more as we go along, but let me also show you a little more about the "artsy stuff" - the stencil printing process, similar to that used for some of the pages in my Meadow Medley, and the making of the cover boards.
For the backgrounds, I used my Gelli plate. It's a 6 x 6 plate, so I positioned a card below it, so that I could line up my prints each time to get a nice uniform border around each page.
Each page spread had variations on the same set of colours: Stormy Sky, Faded Jeans, Antique Linen, Pumice Stone and Walnut Stain.
I spritzed my Distress sprays directly onto the Gelli plate and took the first print on one side of the card, and then a second print onto the facing side. This way each double-page spread has its own colour palette.
The first print will be fairly full-on as it picks up the most ink...
... and the second print will probably give you lots of lovely lighter inky splotchy effects.
I then started playing with some stencils. One is the lovely StencilGirl Nosegay stencil...
... and the other is the small Wildflowers stencil by Darkroom Door, which I was lucky enough to win in a bloghop a while back.
For some pages, I simply blended ink through the stencils in the usual way. For others, I used a natural sponge to apply Buff Titanium paint through the stencil...
... and then spritzed the painty stencil with water and flipped it over to "print" the leftover paint onto a different page.
I really loved this effect, so I tried flipping the blended ink leftovers too... Not quite as neat and tidy, but still pretty.
I think the paint doubles are my favourites though.
So pretty, and such a cool effect with the paint creating the negative space of the flowers in the inky background.
Next, I added some stamping to the mix, continuing the meadow flowers and grasses motifs, of course.
There are some of Lin Brown's wonderful grass stems for PaperArtsy...
... with some Inkylicious Floral Silhouettes layered in in places...
And a twiggy 6 x 6 background stamp by Hero Arts.
And no meditative book would work for me without some words to ponder on as I wander through the meadows.
So I added some of my own quotes from my EAB Eclectica word stamp collections.
They're gathered from EAB03 Music & Silence, EAB07 Dreaming & Doing, and EAB08 Strength & Courage.
And they're stamped in Archival ink before being embossed with Wow embossing powders to make them pop against the particular background they're on... two in Vanilla White...
... two in Primary Bark - a lovely rich dark brown...
... and two in Earthtone Pepper - a beautiful powder I've just uncovered buried deep in my stash.
Once I was all done with the decorative elements, I simply glued the cards together, doing my best to keep them all beautifully aligned.
So to the covers. As I said, I cut the squares for front and back from a cardboard box, and lined the edges with masking tape for a neater finish. But don't glue them down yet!
I chose the same burlap ribbon for the spine as I used for the Meadow Medley, and taped it to the outermost inside pages with a little slack so that it can move as you open and close the book.
The linen ribbon for the closure also needs to be attached before you glue the cover boards in place. I used some double-sided sticky tape across the centre of the outermost inside pages, front and back.
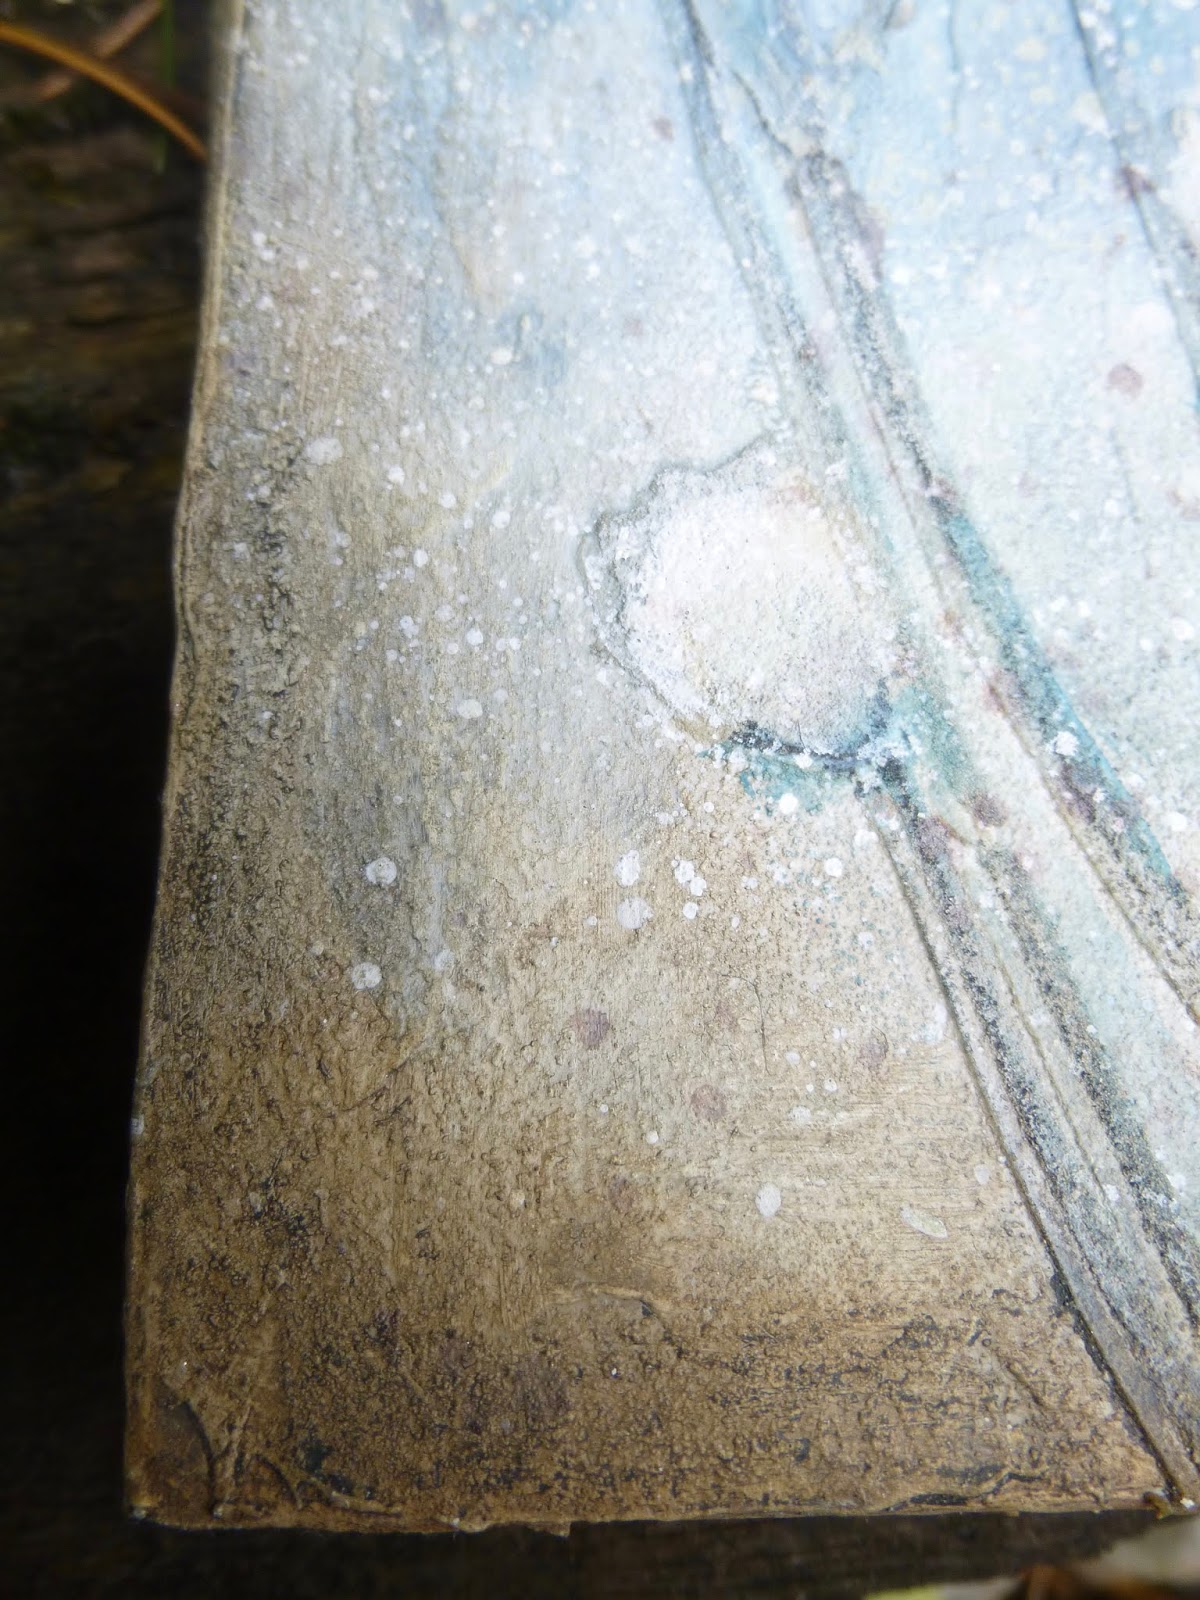
I decorated my cover boards before gluing them down. The first step was a rough application of thick gesso to both boards to seal and prepare them for the mixed media to come.
Next, I added a layer of texture paste using a palette knife, so that I could create interesting textures as I went.
Then, once they were fully dry, I applied some more of the texture paste through the Nosegay stencil. It wasn't quite dimensional enough for my tastes, so I let it dry and then reapplied some more paste, this time the DecoArt Texture Sand Paste, for a more prominent look.
You'll notice I didn't quite line it up perfectly in places, but I'm fine with a looser look. Then it was time to start applying colour. I used Distress Paints in the same colours as the inside pages - Stormy Sky, Faded Jeans, Antique Linen and Pumice Stone.
I used DecoArt paints to start adding detail to the NoseGay meadow grasses themselves.
I added more depth to the tones by shading the edges with Distress Crayons in complementary tones.
More layers of paint and some pastel pencil detailing add the final shadows and highlights on the flowers.
And a Quote Chip adds the book "title" to the front cover...
... whilst the back stays nice and plain.
Of course there's plenty of splatter going on. Every time I used a paint colour, if there was any left on the craft mat, it got a spritz of water and then got spattered onto the cover boards.
I just love how the Distress Crayons heighten all that texture for a really rustic look.
Once I was happy I was done, I peeled back the double-sided tape strips and stuck down the linen ribbon, and then simply glued the cover boards down, front and back, and we're done.
Okay, I think I've probably kept you hanging around long enough, so let me just finish by turning the pages so that you can see each page spread as a whole as you move through the book.
I'm so happy to have found such a simple book construction which allows me to spend time on the bits I really love. It's even easier than the envelope technique, and that's saying something!
And the card structure also makes a pretty sturdy book - so that you can stand it up for display purposes if you choose. If you used more cards in your structure, you could have it go open up all the way around in a circle. It would also be a great construction for doing some "pop-up" elements on the pages... the possibilities are endless.
Thanks so much for stopping by today. I hope you might be inspired to try out this technique and come and share your work with us in
this month's challenge at Mini Album Makers.
Of course, you don't have to use this method to take part - any handmade book is welcome. And you could win a
StencilGirl voucher to go shopping with!
Alison xx