Welcome to our final challenge of the year, our December challenge at Mini Album Makers. We are pleased be joining you again with a brand new challenge. But first, we would like to thank our dear Tracey for her time with us on this team. We wish you all the best Tracey! And now, the winner of our November Challenge, winning a Paperbabe Stamps £20 GC to spend in the Paperbabe Stamps Etsy Store.


Our winner is Alison Bomber of Words and Pictures with entry number 1! She shared a wonderful mixed media/upcycled journal project with us. It's exquisite Alison! Please email Autumn at teamclark@rocketmail.com to claim your prize.

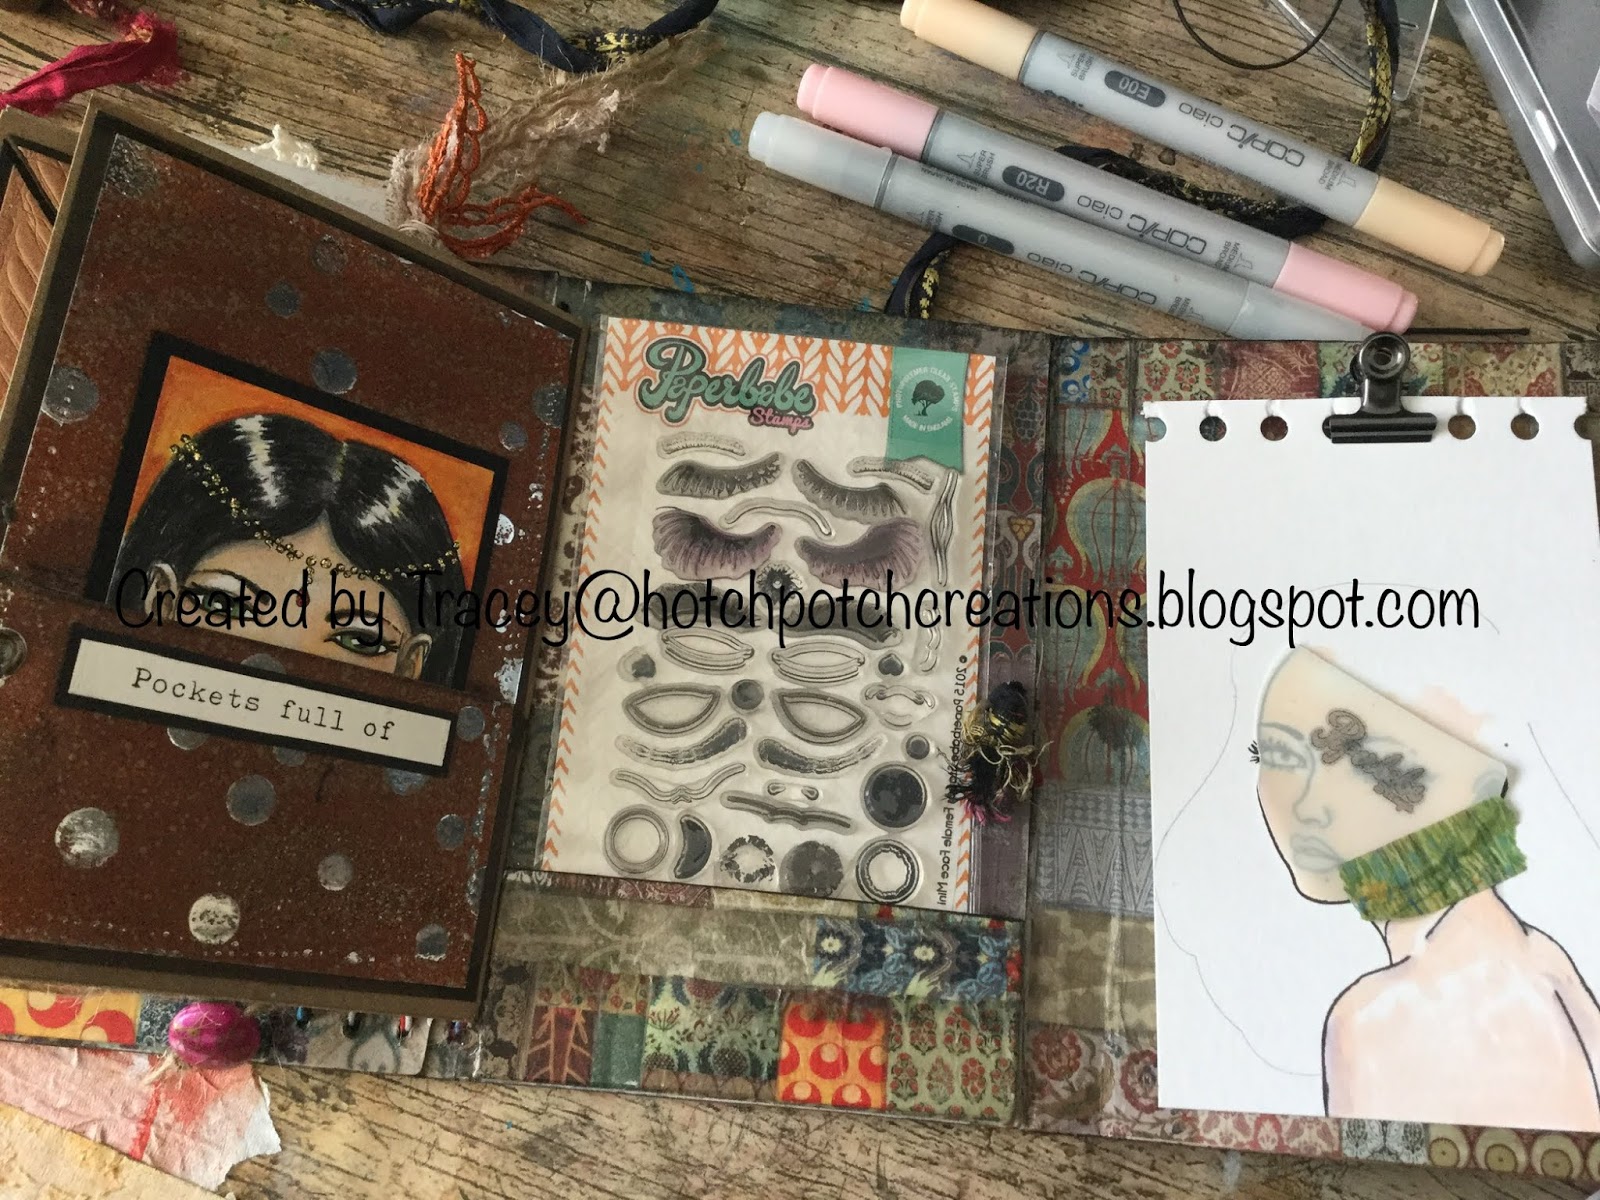
And now let's see what our design team has to share with you this month...
Jennie

As the Christmas/New Year Holiday Season is nearly upon us I have made a cute little book which will be used not just this year, but in future years, to record our memories of the season. I have a short step by step tutorial on my blog so do please join me if you would like to see more.

I love planning for Christmas, and even though I do less and less each year I still like to make a planner to keep Christmas gift ideas, and my all important card checklist. You can see more on my blog HERE.

Hello friends! I had the opportunity to decorate my workshop and I decorated the folder for stencils. It was an ordinary stationery folder ... I recorded a VIDEO process for you.
*****************************************************************
Our generous prize sponsor for this challenge is Lindy's Stamp Gang offering one lucky participant a $25 gift certificate. So join in for your chance to win!
Website - https://www.lindysgang.com/
Blog - https://lindysgang.blog/
YouTube - https://www.youtube.com/user/lindysgang/
Blog - https://lindysgang.blog/
YouTube - https://www.youtube.com/user/lindysgang/

Our challenge follows a few simple rules:
Any Handmade Book Goes. Enter any form of handmade mini albums, scrapbooks, journals and book arts. Our focus is on completed works, so no layouts or journal spreads that are not part of a complete handmade book project. You do not have to provide a tutorial, but we wish you would. Feel free to use one of the DT tutorials to make your project and give proper credit where due. No back linking allowed. You must add our badge to your post and link to our challenge to be eligible to win the prize. Combine with any other challenges as applicable. Please limit to entering 3 (three) handmade books per month in our challenge. Permalinks only and no back linking. Share the love by visiting and commenting on other entries. Please become a follower. That's it - have fun!


* Make sure to add our badge to your post *
and link back to our challenge.


*GET SOCIAL*
Submit your entries to our Facebook page for extra love.
Tag us @minialbummakers with your entries on Instagram for a repost.
and link back to our challenge.
*GET SOCIAL*
Submit your entries to our Facebook page for extra love.
Tag us @minialbummakers with your entries on Instagram for a repost.
Please note: This is a public blog and by linking your project you agree to have your name, blog link and the creation you linked shown on this blog and other Mini Album Maker Challenge social media sites. If you do not agree to this, please do not join in the challenge. Also, remember that any comments and/or linked projects left on this blog will be visible/clickable by third parties as this blog is public. Email addresses are required for entry by InLinkz and accessible to this blog's moderators. Your email address may be used to contact you regarding your entries. We will not share your information willingly for any other purposes. (This was posted to be in compliance with the new GDPR law that will soon become effective in the EU, and will also apply to blogs located in the US if blog visitors reside in the EU.