
We don't get many visitors over the Christmas and New Year holiday but it is always nice to record who has been and what we did (normally the games played!). A number of crafty friends have been sharing books on the internet for their Artist Trading Coins just lately and I thought the size would make a lovely visitors book for the Christmas tree table.
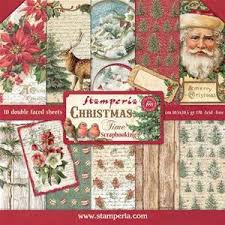
Sometimes you purchase a set of papers and they are just crying out to be fussy cut and used just as they are. I fell in love with these vintage Christmas papers and I hope you like them too. The pad is full of gorgeous papers, tags and labels and sometimes it is hard to make the decision as to which side of the paper to use! First I will share the photographs of the finished book before giving a short tutorial on how the book came together.


I have used a magnet to close the book which is quite chunky!

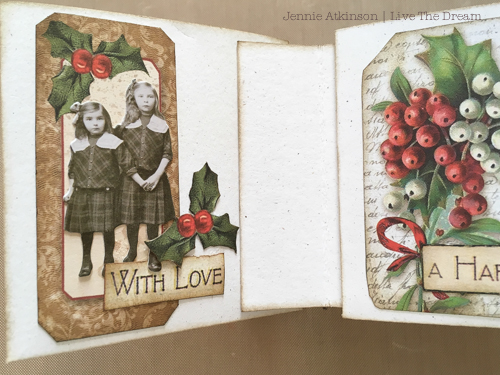
Once opened the pages can be seen separately .....


or pulled out on it's waterfall binding.


Finally, a few colourful tags. And here is a video flip through along with some lovely Shetland Christmas music.
As
I said the the mini album is based on one widely being made on the
internet for Artist Trading Coins. I have used the specifications as Teresa indicates in her video and made the mini album in exactly the same way. Here is a link to the video based
tutorial I used to make the album:

I made the pockets first using a fairly thick white card. I would normally distress the edges with Vintage Photo Distress Ink, but picked up the wrong ink pad ....... Walnut Stain, which I have not used in ages. The result was I fell in love with it all over again! Fortunately the smaller tags all fitted nicely on to the fronts of the pockets and I was able to fussy cut some sentiments and other little bits of holly and berries.

I decided to stick these onto the waterfall binding before decorating the reverse of the pockets as I wanted to see how much room I had first. Again I have used the same papers and ink for the binding.

There is much less room on the reverse side of the pocket for decoration, but there were some lovely bits of text and other small tags within the paper pack. Some of the smaller Tim Holtz Paper Dolls were a perfect addition too.

Some of the tags are quite large but oh so beautiful !!! To make them fit the inside cover of the mini album I made a cut in the tag .....

..... cut a small half circle in the lower part .......

...... then inked the edges to make this lovely pocket.

It really suits the inside cover and is a good "trick" for making larger items fit smaller albums!

It also meant I could hide the lace edges which were decorating the front cover.
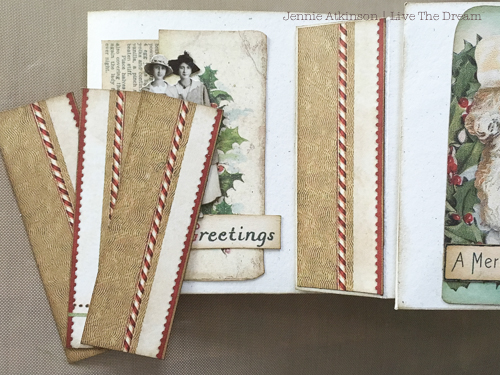
There were lots of little bits of strips on the 12 x 12 papers which I thought would be perfect for decorating the waterfall binding.

There were some lovely all over patterned papers on the back of some of the tag sheets and I had to decide very carefully where I was going to die cut my rosette! I have used a Tim Holtz die to create this rosette and run a gold pen around the edges and creases to make it look a little more sparkly!

I didn't add too much to the front of the book other than the rosette and a wide piece of lace. It took a while to find a perfectly sized sentiment, but it was found in the end!

I wanted to close the book without using ribbons, so used another die (Eileen Hull's Journal die) for this closure. Although it is for a much larger book it fitted this chunky min album perfectly. I normally cut the papers so the board can fold.

Finally I stuck the waterfall book onto the back cover ......

..... and used a couple of small magnets on the closure. I will come clean and say that I had included ribbon under the front cover papers but it just didn't look right so the magnets were an afterthought! Normally I would have stuck them under the papers!

I think this little album will look very sweet sitting amongst the fir cones under the Christmas tree and will be a small memory of our celebrations this year. My thanks to Teresa Morgan for a super mini album design! And now all that's left to do is to wish you all the best wishes of the Festive Season. From all of us here at Mini Album Makers our very best wishes to you all for a very happy and peaceful Christmas.
Jennie x