Showing posts with label Guest Designer Tutorial. Show all posts

Tuesday, May 21, 2019

Denim Friends Mini Album Tutorial by Kerstin

Welcome everyone! Kerstin Filou from Scrapbook Dreams here and I'm very thankful for this opportunity. It's a big honour to be invited here and I'm very happy about this. I'm a handicraft enthusiast with passion since my childhood, crafting makes me happy :-)!

It is a wonderful relaxation and balm for the soul, it's the little things in life that makes you happy and I love to share this joy and want to encourage my friends and all the others to try new ideas.

I'm a modern girl with a vintage heart and my projects are always a little bit magical, romantic and natural. My friends says: 'You are very diverse, but always in love with detail.' That's my motto, imagination knows no limits and there's always a story to tell.


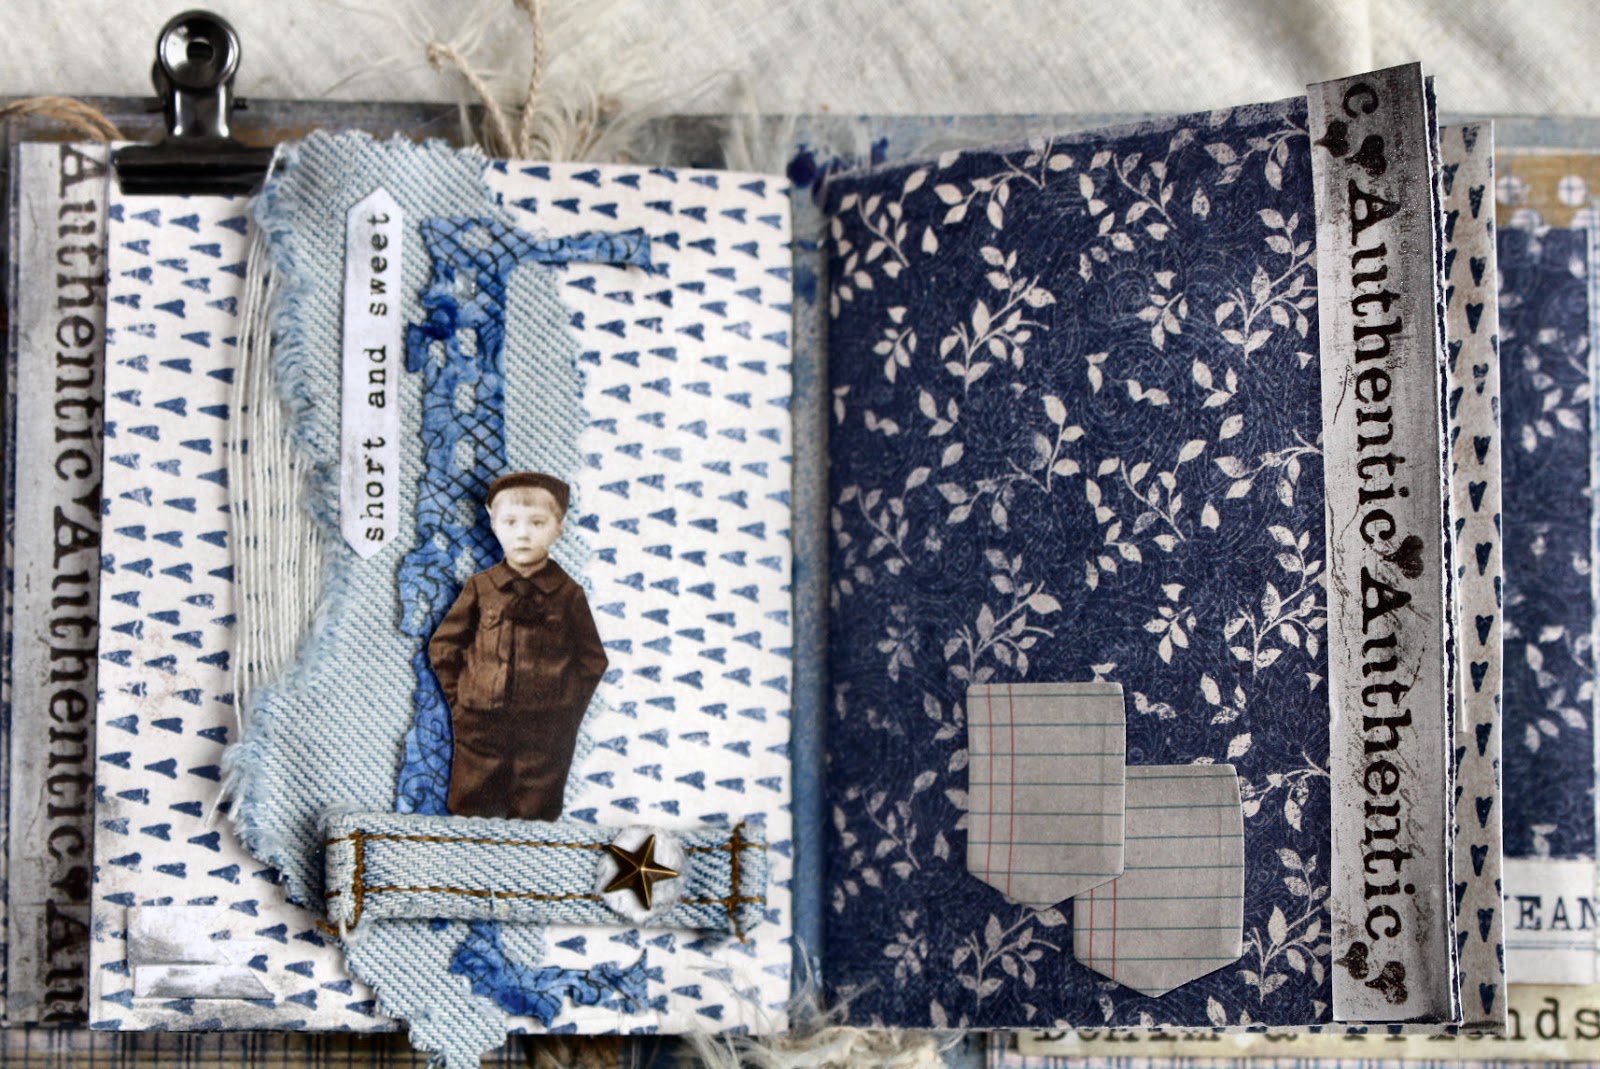
I was inspired to create a mixed media album in denim look, washed out and not as neat, just like a really good pair of jeans. I have used some of my favorite collections for my mini album, the Denim & Friends and Denim & Girls collection. I am absolutely in love with the delicate blue colours and designs of this papers.


Basic materials:
Eileen Hull Journal die
Maja Design Paper collection: Denim and Friends, Denim and Girls
denim leftovers from an old jeans trousers

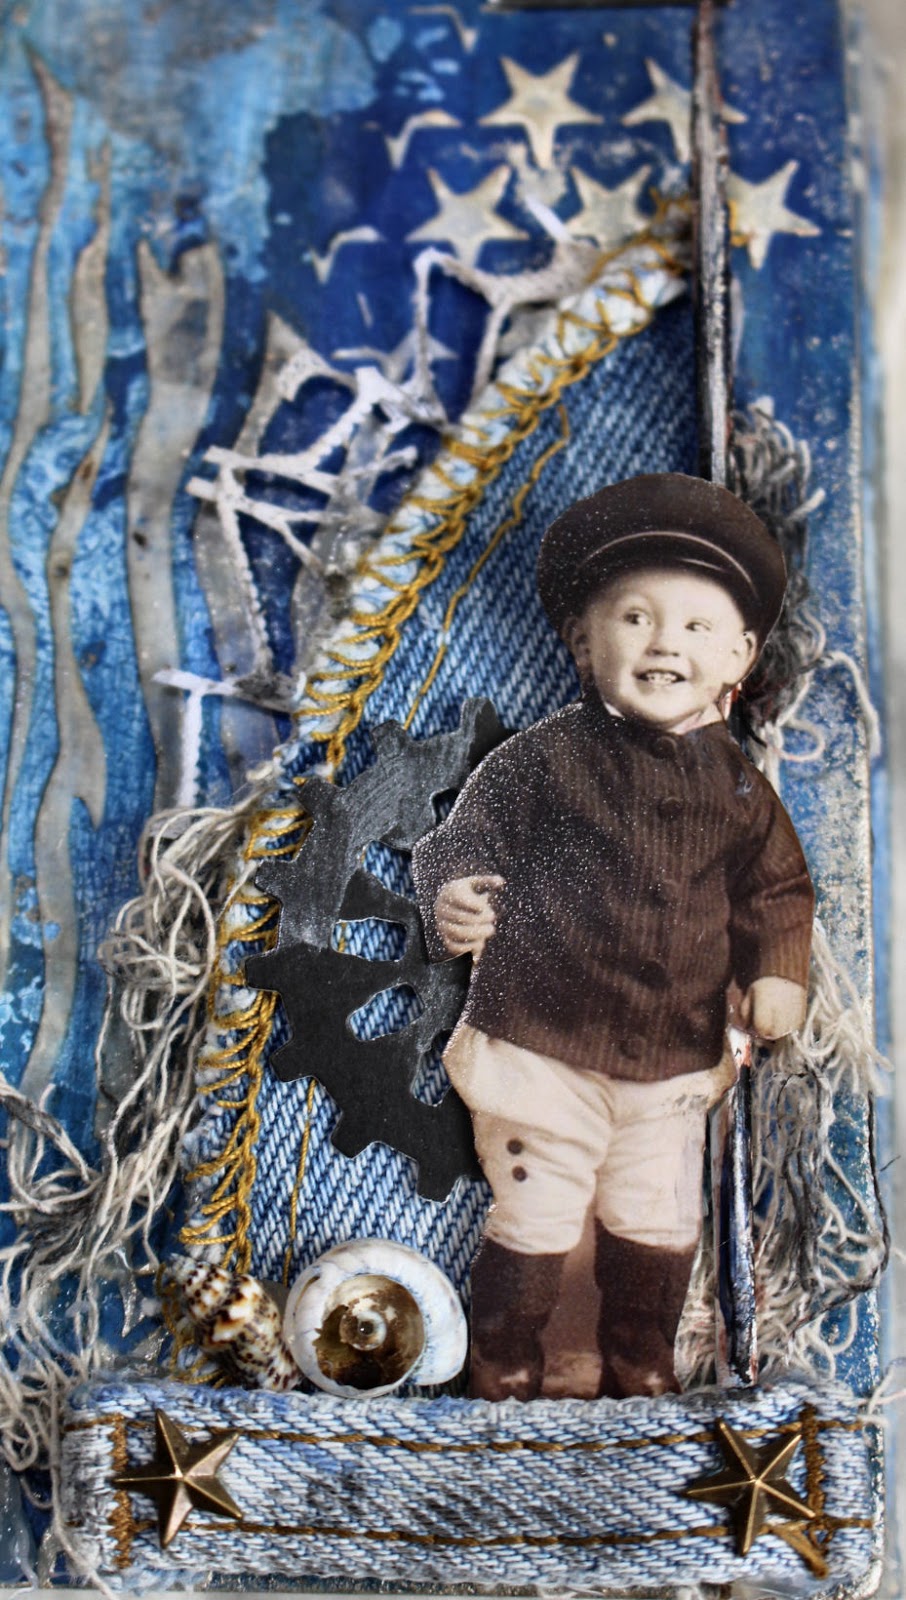
Want to see how they are made the greyboard cover?  Here I have some photos from the making.


1.  I started by applying a coat of white crackle paint (DecoArt) on the background
2.  I used a acrylic paint mixture of blue shades together with a Chalkboard Glimmer Mist (Boogie  Board- Tattered Angels) spray desired areas with water then drop Glimmer Mist onto the wet areas

3. + 4.  I applied Dimensional effects, a paintable texture paste from DecoArt using two stencils
5.  After drying I highlighted the dimensional effects with a metallic finish wax (Metallic Lustre 'Chanpagne Ice')
6.  I thought it would be a cool idea and very suitable to my theme 'Denim and Friends' when I used  origin denim fabric and so I created a sailboat with two leftovers from an old jeans, a wooden skewer works as sailing mast

 Album pages:


I really hope that I was able to inspire you!  Add something unique to your project that you like and never be afraid to try something new! There is so much inspiration shared on this fabulous blog each month and I hope I am able to contribute a little more for you today. Thank you very much!! 
Creative hugs from Kerstin xx
You are invited to the Inlinkz link party!
Click here to enter

Sunday, April 21, 2019

Vertical Toilet Paper Roll Mini Album Tutorial by Deb Riddell

 
Hello everyone, it's Deb Riddell of Paxton Valley Folk Art here with you today as a guest designer here at Mini Album Makers.  A huge thank you to Autumn and her very talented design team for giving me the opportunity to share my project with you.  I live in British Columbia, Canada on a small acreage with my hubby and our rescue dog (affectionately known as The Delinquent!) and I'm a mixed media artist and paper crafter.  My style is usually vintage inspired feminine grunge but I love to experiment with many styles and mediums.  I'm currently on Therm O Web's Mixed Media Education Team and am a Resident Tutor at Mixed Up Creative as well as a Creative Guide over at A Vintage Journey.  I'm very lucky to be able to do what I love best everyday, create art!

For my project today, I was strongly influenced by the spring weather that has finally arrived here  in Canada and decided to make a little vertical mini album created with  ... toilet paper rolls!


I followed the YouTube tutorials shared by My Sisters Scrapper, you can find Part 1 of her tutorial here:
https://youtu.be/-8vndiRxuWk
and Part 2 here:
https://youtu.be/_l3YfI2QuYc
For my mini album, I used some thick chipboard packaging and covered it with papers from a Recollections 'Blossom and Bliss' paper pad.


Laura Denison's 'Stack The Deck' hinge system was used to secure my 6 toilet paper roll 'pages'.
I decided on a pink and green colour scheme and alternated the colours when wrapping the flattened toilet paper rolls.


The inside and outside of the mini album was covered with more of the Blossom and Bliss paper and a line of Lime Green Stickles Glitter Glue was added around the edges.  Journaling cards were created from white cardstock matted with more of the same paper and they were embellished on the front with a variety of die cuts and sentiments.  I used kraft cardstock for all of the die cuts and embellished them with either embossing powders, foil or Perfect Pearls for a bit of shimmer.  Stickers or stamped sentiments were also added to each card and the pulls were created with a Small Tattered Florals die cut.  The back of each journaling card was stamped with Tim Holtz's 'Lined' background stamp.


The first and last toilet paper roll pocket pages were embellished with flowers created with a combination of the Tattered Florals and Small Tattered Florals die cuts.  Botanical Tea paper from Graphic 45 was used for these flowers which coordinated perfectly with the Blossom and Bliss papers.

More flowers were created from the same Graphic 45 paper with the Small Tattered Florals dies to embellish the top of the mini album.


On the front flap, a black metal bird sticker was painted with Spun Sugar Distress Paint and wiped back for an aged look but it was still a little too dark so I also inked it with Mushroom Alcohol Ink and Gold Mixative.


One of Tim Holtz's Wildflower die cuts was cut from kraft cardstock and embossed with pearl embossing powder.  A Metallic Quotations Sticker was backed with more kraft cardstock.


Mini Detailed Butterflies were die cut from kraft cardstock and embossed with Irridescent Shimmer embossing powder for the back of the mini album.


And here are a couple of more pictures of the inside of the mini album and the finished journaling cards.


I hope that you've enjoyed seeing how my Sweet Life vertical mini album came together, I had a lot of fun making it.


Thanks again to Autumn for the opportunity to share my project with you and have a wonderful week everyone, happy creating!
Deb xo

Thursday, March 21, 2019

Alcohol Ink Notebook Tutorial by Elena Mashkina

Hello. My name is Mashkina Elena. I live in Ukraine, in a small town. Scrapbooking is my passion. For the past 5 years, I am a painer of paints and love to create notebooks. Notebooks is a little story. I am glad to be a guest designer. For you, I made a tutorial cover. Used favorite alcohol ink and craquelure.


Some types inside. Hope I have inspired you!  


Monday, January 21, 2019

Prima Moon Child Mini Album Tutorial by Elena Martynova

Hello scrappy friends!  My name is Elena Martynova and I live in Russia, Astrakhan.  I am honored to be here as a guest designer.  I love to do practical things, and just beautiful. Wife, mother, passionate, adored felines. Have the care of three baleen-striped. I really appreciate in people sincerity, kindness and sense of humor. I dream to travel a lot. But not like too long to leave home. 

At home I'm always fine. Scrapbooking is a hobby that makes my life happier and more interesting. Gives a lot of communication, new friends, the joy of self-realization in work. And of course, happiness of owning a scrapbook treasures. Even in the fifth year of fascination with the scrap does not get rid of the habit to buy any particular paper or embellishment to just "own" for aesthetic pleasure.


The outside of this album measures 5.5 x 6" and the inside pages are 4" x 6".  The spine is 1.5" wide. I used collection of paper Moon Child by Prima Marketing. This is a very beautiful collection with amazing space backgrounds and lots of pictures to cut out!  I invite you to watch my video tutorial to see the whole process of creating my project. Enjoy! 


I decorated the cover with lace, flowers by Prima, chipboard by 2 Crafty and metal key.
 

I like to decorate the spine of the albums with different pendants! This adds charm to any work!


So that you could have a good look at all the pages of the album, I took a lot of photos.  The pages in the album are composed according to an interesting principle. You'll need two 12"х12" sheets of paper and a template that you'll see just below. In the video you will see how to fold the pages using my template. I like this design, since it helps to get additional pockets, in which you can put tags or photos.


I didn't decorate all the pages, or it would have taken too long. Besides, I didn't want to cover the beautiful background paper. And the third reason - photos of different sizes can be inserted into the album.


Hope I have inspired you!
Thanks for looking and happy album crafting everyone!